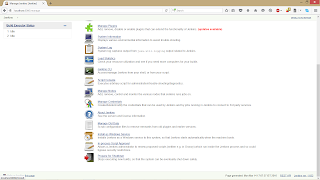
Installing jenkis on Windows 8.1
Jenkins is CI tool written in java. This post is gonna talk about how to set up jenkins for Windows 8.1 and likewise Windows 10.
Notes:
Prerequisites
1. Java 8( updated) : Download
Once finished you can check your java version on the web with the following image as a result
Installing
This will vary according to connection of internet.
1.First of all we need to download the file "jenkins.war" file from here.
After finishing off you can open up CMD with admin privileges and run
You can launch the Jenkins http://locahost:8080
In jenkins you can have Master and Slave nodes which you can manage. where the workload of building projects are delegated to multiple
"slave" nodes, allowing a single Jenkins installation to host a large
number of projects, or to provide different environments needed for
builds/tests.
Below is how you can start creating your slave node.
Set the connection of the slave to your installing directory
And now you can start deployment and do CI.
Notes:
Prerequisites
1. Java 8( updated) : Download
Once finished you can check your java version on the web with the following image as a result
Installing
This will vary according to connection of internet.
1.First of all we need to download the file "jenkins.war" file from here.
After finishing off you can open up CMD with admin privileges and run
 | ||||||
| The running of "java -jar jenkins.war" |
"java -jar jenkins.war"
You can launch the Jenkins http://locahost:8080
 |
| Head to manage and start the installation as Windows Service. |
 |
| Step 1 |
 |
| Installation completes |
 |
| After the installation,windows will be re-irritating jenkins service in the background. |
Below is how you can start creating your slave node.
Set the connection of the slave to your installing directory


Comments
Post a Comment